Table of Contents

Gemini CLI Tutorial Complete Guide for Beginners
The Gemini CLI is one of the most powerful open source AI tools available today. It delivers the capabilities of Google’s Gemini models directly into your terminal.
We will walk through everything you need to get started with Gemini CLI, from installation to login and advanced usage. Whether you are a developer, student, or tech enthusiast, this guide will help you utilise Gemini CLI with confidence.
1. Installation of Node.js
Before installing Gemini CLI, we must install Node.js on our PC.
- Download the LTS (Long-Term Support) version.
- Install it on your PC by following the on-screen directions.
After installation, open (CMD) or Terminal and run:
node --version
This command validates whether Node.js is installed correctly.
2. Install Gemini CLI
Once Node.js is installed, you may install the Gemini CLI package globally using the following command:
npm install -g @google/gemini-cli
This will download and install the CLI system-wide so you may access it from any directory.
To confirm the installation, run:
gemini --version
If the version number displays, you are ready to use Gemini CLI.
3. Login to Gemini CLI
To use the Gemini CLI, you must log in and authenticate your access. Gemini CLI has three login options:
1. Login With Google (Recommended)
This option uses your personal Google account, which already provides a hefty 1,000 requests/day.
Run:
gemini login
Choose Google Account Login when prompted.
2. Use a Gemini API Key
If you have generated a Gemini API key from Google AI Studio, you can use:
gemini login --api-key YOUR_API_KEY
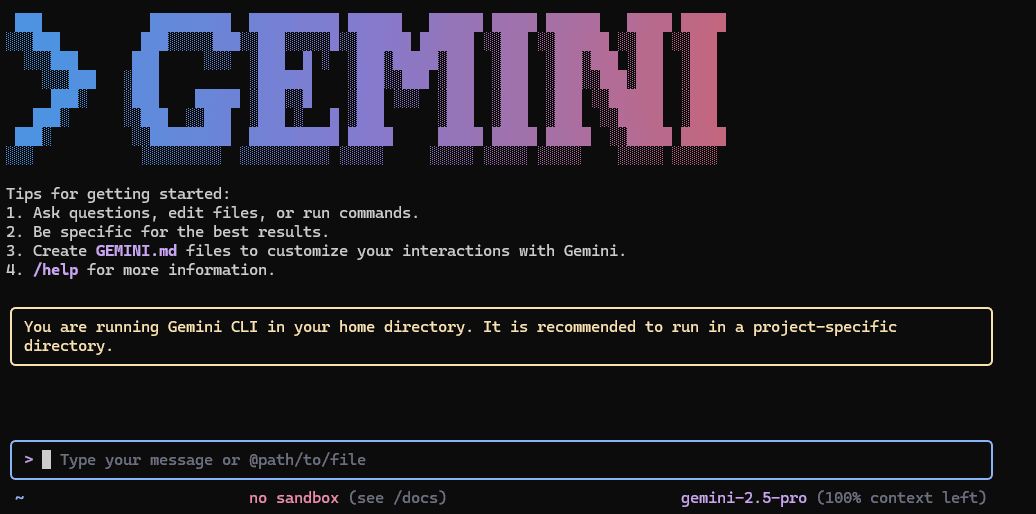
4. Understanding the Gemini CLI Interface
Once logged in, you will get a clean UI-like terminal interface showing:
- Active model
- Mode (Shell, Agent, or Standard)
- Available tools
- Instructions and shortcuts
This interface is easy to use and feels like an AI chat window inside your terminal–but with significantly more control and automation.
5. Using Shell Mode
The Gemini CLI allows you to execute shell commands right within the AI environment with an exclamation mark !.
Example:
!dir
!ls
!git status
This is especially beneficial when you wish to mix AI capabilities with terminal activities.
To quit shell mode, simply press:
EscThis returns you to normal AI interaction mode.
6. Switching Between Modes
The CLI offers several working modes. The most powerful one is Agent Mode, where the AI can use tools and automatically conduct tasks based on your directions.
To check what mode you’re in, you can use:
/helpYou can easily switch modes using:
Ctrl + Y
This keyboard shortcut toggles between AI chat mode and agent mode instantaneously.
7. View Backend Activity
If you want to view what’s going on behind the scenes such as the tool usage, model switching, or the execution logs you can use:
/debug
This will provide insights of how the agent is making decisions, which model is running, and which tool is being used.
8. View Usage Stats and Tool Activity
To get details about which models are being utilised, token usage, and request performance, run:
/statsThis gives a clear image of:
- Model load
- Tool integration
- Rate limits
- API use
A distinguishing feature of Gemini CLI is that whenever it detects rate constraints or model changes, it immediately switches to the best available model to keep your process operating smoothly.
9. Create Checkpoints (Save & Restore)
One of the most helpful features of Gemini CLI is the option to save your session as a checkpoint.
Run:
/checkpoint saveThis preserves your current discussion or project context so you may later recover it.
To restore a prior state:
/checkpoint restoreThis is very helpful when you're working on big projects or troubleshooting code and want to return to prior steps.
10. Start a Fresh Conversation Anytime
If you want that the current session will clear and start a fresh conversation then, simply run:
geminiThis opens a clean discussion window where you can begin fresh tasks without losing past work.
Join the discusstion
No comments yet.