Table of Contents
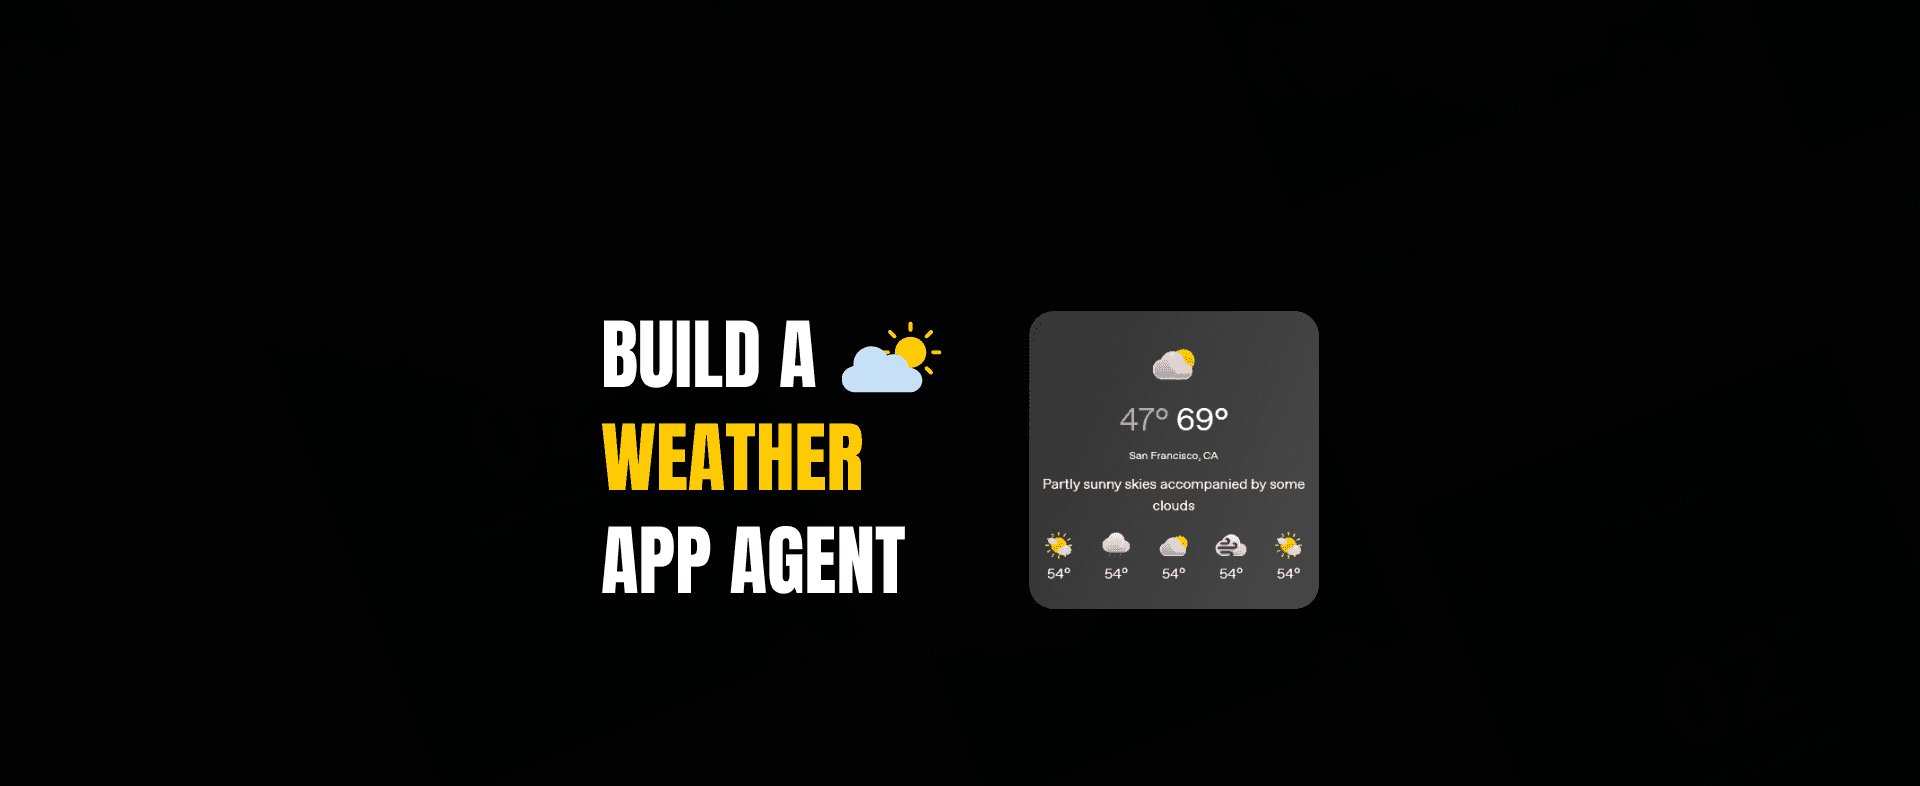
Weather Agent With Chatkit And Deployment
If you've been looking into AI agent automation, you know that custom agents can be very powerful and flexible.
Build a Weather Agent with ChatKit Studio and deploy It on Vercel
In this post, we'll show you how to make a simple Weather Agent with ChatKit Studio, create a widget template, set up web search features, and finally send the agent to Vercel. This content is easy to understand and fully descriptive, so it can be accepted on sites like Google AdSense.
Let's get going.
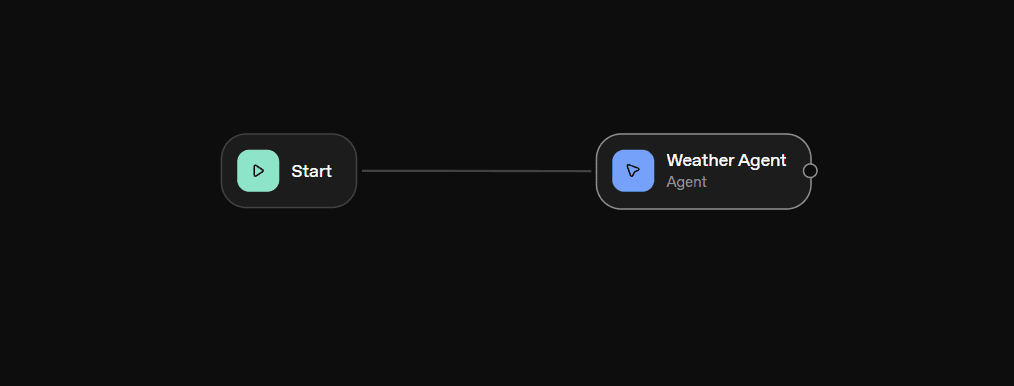
Step 1: Create a simple agent node and give it a new name.
Start by opening ChatKit Studio and making a new agent. ChatKit has a visual agent builder, and at first, your agent will look like an unknown node.
Change the name of this node to "Weather Agent."
Changing the name of the agent makes it clear what it does and makes sure that the system instructions and tools are in line with what the agent is supposed to do.
Step 2: Put in System Instructions
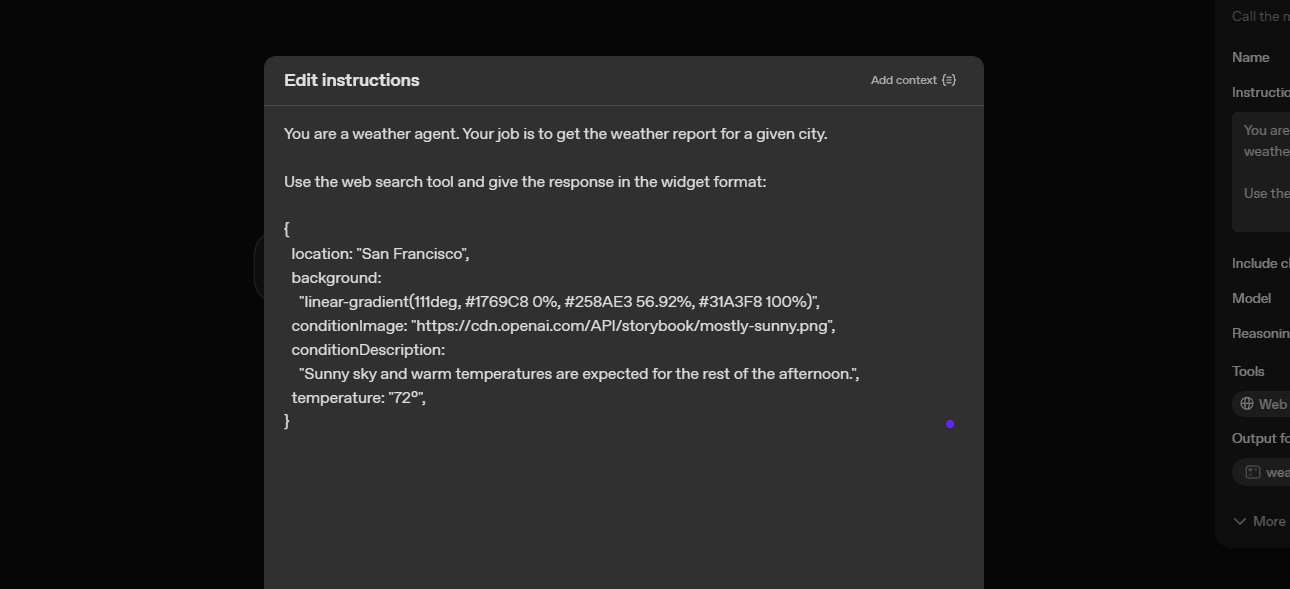
Next, open the agent's System Instructions panel. This is where you'll tell your agent what to do.
Add the following steps:
You are a weather agent. Your job is to find the weather is in a certain city.

Use the web search tool and answer in the widget format.
These instructions tell the model exactly what to do:
- Look up information on the web
- Get weather information
- Use a widget template to format the results
Clear instructions help the agent do their job better and make sure they always get the same results.
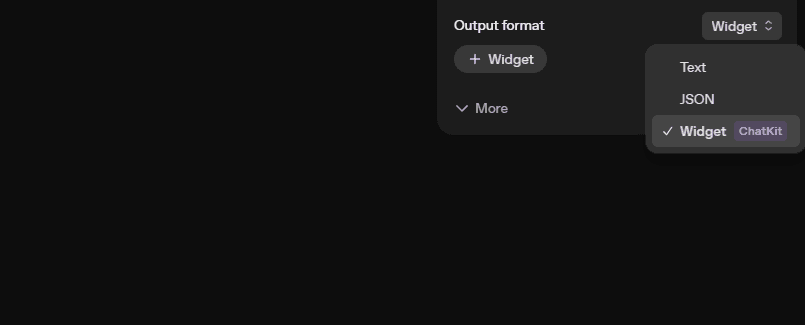
Step 3: Choose Widget as the Output Format
In the agent builder, you can choose between Response Format and Output Format. Set this option to Widget instead of plain text.
This makes sure that the Weather Agent will always give you its results in a structured visual widget instead of just plain text.
Widget answers are very useful for advanced UI experiences, dashboards, or adding features to your apps.
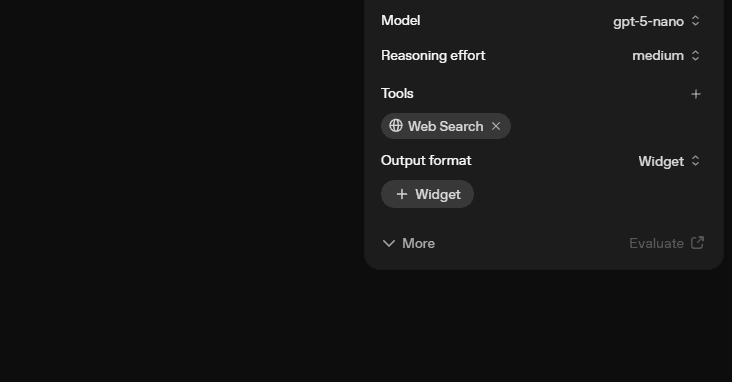
Step 4: Include a tool that can search the web
Your Weather Agent needs to be connected in order to get real weather data. You need to attach a tool to the agent that works with ChatKit.
Pick a tool that can search the web, like:
- ChatKit's Web Search Tool
- Brave Search API utility
- Or any gadget designated “web-enabled”
Attach the tool to the agent so it can make real-time weather requests. After adding the tool, you can test it from inside the agent builder to confirm it retrieves data successfully.
Step 5: Open ChatKit Studio’s Widget Builder
Now navigate to ChatKit Studio Widget Builder.
Here you will design the widget that shows weather data. Widget Builder has a Library of templates that you can modify. These are the templates that control appearance, layout, colors, icons padding spacing and overall stylistic direction.
Just look through the gallery, select a widget layout that is close to what you want for your weather-report-like interface (it can be a card layout with a title, temperature, icons; colors are fine) and tweak it.
When you’re done, download the widget template. ChatKit will provide a JSON file representing the widget.

Step 6: Attach the Widget Template Back to Your Agent
Return to the Agent Builder.
Under the “Widget Response Format” option, submit the downloaded widget JSON file.
This informs the agent:
“When producing weather results, use this widget design.”
Step 7: Add Widget Styling JSON to the System Instructions
Every widget template requires particular JSON data fields such as:
- Color pallet
- Background color
- Text color
- Accent color
- Border radius
- Font styles
- Icon colors
Paste this JSON styling information into the System Instructions so the agent knows exactly what data structure to produce.
For Deployment we already have an article navigate to it
Join the discusstion
No comments yet.